What Is DPI In Laser Engraving

What Does DPI Mean In Laser Engraving?
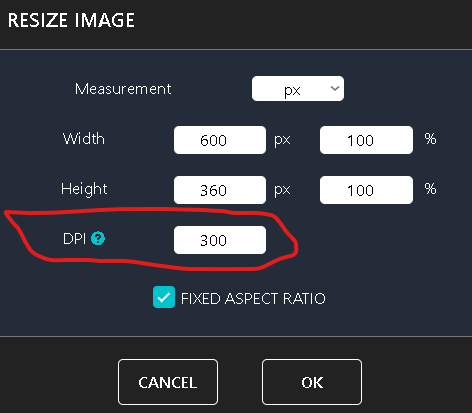
Dpi in laser engraving is simply the dots per inch that will be displayed in an image. This setting is usually responsible for the quality of the image. The higher the dpi of an image, the higher the quality of the image.
Quality of dpi settings
- High – 600 DPI
- Medium – 300 DPI
- Low – 150 DPI
DPI Requirements For Different Materials
The type of material you plan on laser engraving will also decide the quality of dpi that you can use. For instance, you wouldn't get the best results if you use high dpi settings for materials such as fabric or leather.
Materials such as glass or aluminum can use higher dpi settings such as up to 600 dpi.
Factors Influencing DPI In Laser Engraving
There are many factors that affect the level of dpi that you can include in your lasering job. Below we will go over a few.
- Laser Power: Like a dimmer switch, laser power controls the "intensity" of the beam. For some lasers, especially diode lasers, cranking up the power might sound awesome, but it can actually backfire. These lasers often enlarge the beam size with higher power, leading to a lower effective DPI and potentially blurrier results. So, choose wisely based on your desired detail and material.
- Speed of the laser: Laser speed is like the engraving equivalent of a race car. Faster speeds are exciting, but they can leave messy overlaps or "burned patches" on your material, especially at higher DPI settings. For intricate details, slower speeds paired with higher DPI allow the laser to etch with more precision.
- The Lens: Lenses focuses the laser into a concentrated "spot." Shorter focal lengths create smaller, sharper spots, allowing for higher DPI and finer details. Conversely, longer focal lengths create larger spots, meaning lower DPI might be better to avoid scorching your masterpiece. Choose the right lens for the job!
- Material: Not all materials are created equal. The surface texture, hardness, and density of your material all play a role in how it reacts to the laser.
Finding the Perfect DPI Settings for Your Laser Project
Choosing the right DPI (dots per inch) for your laser engraving project can feel like navigating a maze. But fear not, fellow maker! Here's a simplified guide to help you achieve stunning results:
Step 1: Have a Roadmap: Every material has its preferences. Check out general DPI guidelines for your chosen wood, acrylic, or other material. This gives you a starting point, like a handy map outlining the general terrain.
Step 2: Explore: Remember, every project is unique, just like different paths on a map. Don't be afraid to experiment! Test different DPI settings on scrap material. This hands-on exploration lets you see how various DPI settings affect the engraving's detail, depth, and overall look.
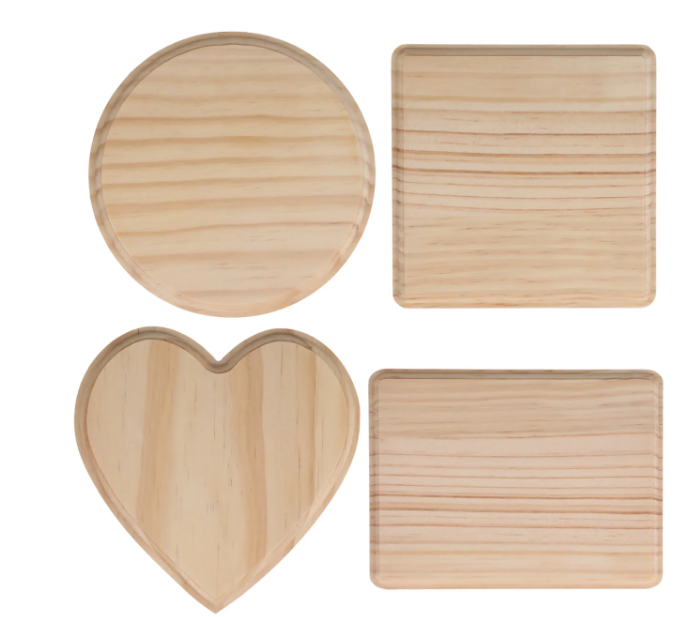
I usually get plenty of test materials from Dollar Tree. These cost just $1.25.

Step 3: Fine-Tuning: As you experiment, you'll notice how different DPI settings influence the engraving. Maybe higher DPI gives you crisp details, while lower DPI creates bolder lines. Adjust your settings based on your observations, just like fine-tuning your hiking route for the best view.
Step 4: Benefit from your tests
Related Articles
-
How to Laser Engrave Leather | Step-By-Step Guide
Can You Laser Engrave Leather?
How to Laser Engrave White Tiles Painted Black?
What Is The Best Low Cost Laser Engraver? My Opinion
How to Laser Engrave Acrylic with a Diode Laser: A Step-by-Step Guide
My Hands-On Review of the Monport 6-Watt Diode Laser Engraver
Laser Etching Glass
Laser Engraving A Photo | Full Guide
How Much Does Laser Engraving Cost
Is Laser Engraving Hard to Learn?
Why is laser engraving so expensive?
WHAT IS A LASER CUTTING MACHINE?
Top 7 Laser Engraving Business Ideas
10 Essential Safety Precautions for Home Laser Engraving Projects
Laser Engraving Cutting Boards | How To
Where To Buy Laser Cutting Materials?
Laser Engraving QR Codes
What Is DPI In Laser Engraving
How Much Is A Laser Engraving Machine