Laser Etching Glass
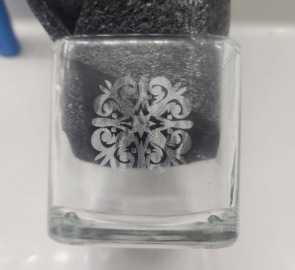
How to Laser Etch Glass Using Tempera Paint
Laser etching glass can create intricate and unique designs, but it requires a few careful steps to ensure you achieve a clean, crisp etch without damaging the glass. I've been using tempera paint and a temporary marker from Dollar Tree to prepare the glass surface to get a professional-looking result every time. Let's go into the steps needed.
Materials You’ll Need
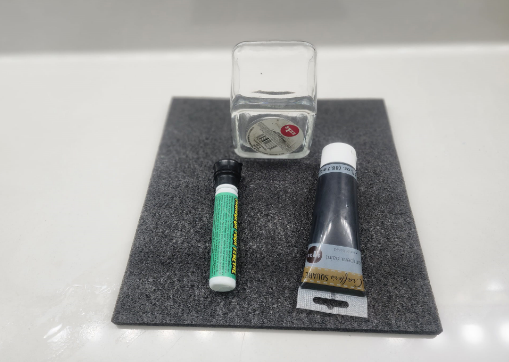
Here is a list of the materials you will need to complete this engraving.
- Glass surface (e.g., wine glasses, picture frames, coasters)
- Tempera paint (use black tempera paint)
- Temporary marker (from Dollar Tree)
- Paintbrushes (fine tip and medium for painting details and covering large areas)
- Protective equipment (safety goggles, gloves)
- Clean cloth or paper towels
- Water and soap
Yes I know some of the materials are missing from the image above. I will upload one soon.
Step-by-Step Guide to Laser Etching Glass
Follow this guide carefully to get beautiful, professional results when laser etching glass like i did.
Step 1: Prepare the Glass Surface
- Clean the glass: I personally use water and soap to remove any dirt, oils, or dust. This will ensure you get the Dry it thoroughly with a clean cloth to avoid any streaks or water spots.
- Optional: Use masking tape around the edges of the area you want to etch. This will help keep the etching area clean and give a nice, defined edge.
Step 2: Apply the Tempera Paint
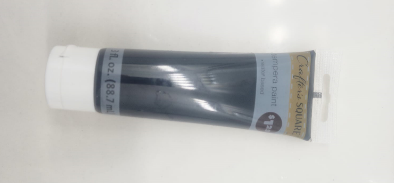
- Choose your paint color: My color of choice is black paint. However, I think colors such as dark purple or dark blue might work just as good. I think I might need to test that out soon.
- Paint the surface: Use a medium paintbrush to cover the glass area where you'll be etching. I always apply an even layer of paint across the entire surface. Sometimes I might add too much paint but I haven't had any problems so far.
- Let it dry: Allow the paint to dry completely. This usually takes about 20–30 minutes, but drying time may vary based on humidity and thickness. This is where I am the impatient type of person. I usually use a heat gun to speed up the drying process to about 2 minutes.
Step 3: Create your design and Set Up Your Laser Engraver
- Check the design: It's all up to you to decide which software you want to use to sketch/create your design. I personally use the built in tools on Lightburn or MPlaser software. Sometimes I will use the image designer in chatgpt to help bring my ideas to life. Yes, chatgpt allows image creation.
Here are three screenshots of the chatgpt screen:
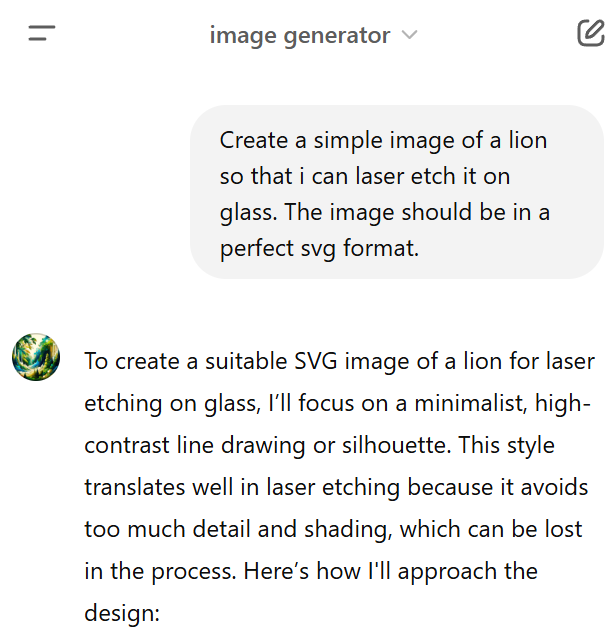
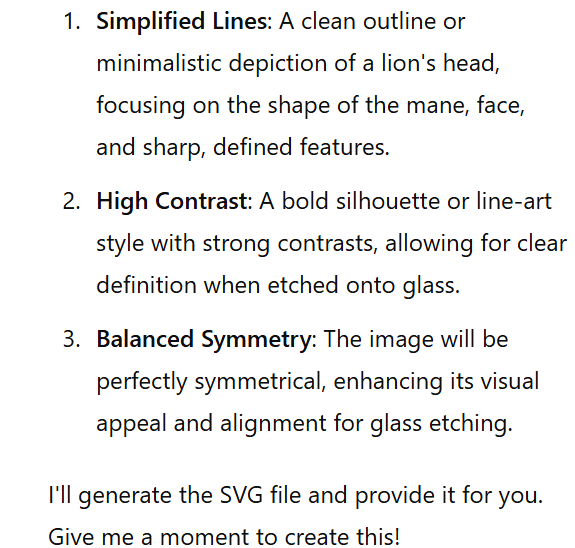
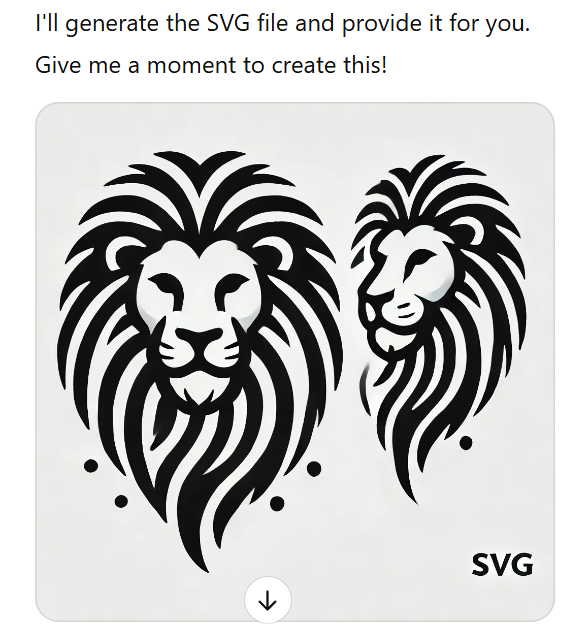
See how simple that was? Now let's move on.
Adjust the settings: Configure your settings for glass etching. I have a 6 Watt laser and 20 watt laser but I have been using the 6 watt laser more often now. The settings for etching this glass are as follows:
- Power: 100%
- Speed: 2000 - 3000mm/min
- Power: On my 6 watt laser I sat in the range of 2000mm/min to 3000mm/min.
- Speed: My machine can run at 48,000mm/min but i keep it in the range of 2000mm/min to 3000mm/min.
- Position your glass: Place the glass securely on the engraving platform. Adjust the height and alignment to ensure it’s stable and positioned where the laser will begin etching.
- Focus: Make sure the laser is focused correctly to get the best etch possible. I have forgotten to focus my laser countless amount of times and trust me, you will definitely see the bad results that happen after.
Step 4: Begin the Etching Process
- Test the laser settings: Do a test run on a small part of the glass or an extra piece to ensure your power and speed settings are optimal. This is something I do when laser engraving any material.
- Engrave Please: Jokes aside, now it's time to start the engraving process and monitor closely with your eye protection. If you notice any issues, such as the laser cutting through the paint too quickly or the design not being clear, your machine might allow you to adjust the speed or power settings. If this happens to me, I usually just restart the engraving. This is why we should always test our etching on scrap pieces of materials before trying the final job.
Step 5: Finishing Touches
The next step is to remove the glass from the engraver once the process is complete.
- Wipe off the paint: Use a damp cloth to gently remove the paint layer. My preference is to put the glass under running water while wiping the tempera paint off with the cloth you have.
- Clean the surface: Remove any residue with mild soap and water, then dry thoroughly.
Troubleshooting Tips
- Uneven etching: This usually occur if the paint layer is uneven and this is why a consistent layer of paint is necessary.
- Glass cracking: If the glass ever cracks, your best bet is to try reducing the power of your laser.
- Faint etching: This might happen if the laser speed is too high. The remedy is to reduce the speed for a more precise, deeper etch.
Related Articles
-
How to Laser Engrave Leather | Step-By-Step Guide
Can You Laser Engrave Leather?
How to Laser Engrave White Tiles Painted Black?
What Is The Best Low Cost Laser Engraver? My Opinion
How to Laser Engrave Acrylic with a Diode Laser: A Step-by-Step Guide
My Hands-On Review of the Monport 6-Watt Diode Laser Engraver
Laser Etching Glass
Laser Engraving A Photo | Full Guide
How Much Does Laser Engraving Cost
Is Laser Engraving Hard to Learn?
Why is laser engraving so expensive?
WHAT IS A LASER CUTTING MACHINE?
Top 7 Laser Engraving Business Ideas
10 Essential Safety Precautions for Home Laser Engraving Projects
Laser Engraving Cutting Boards | How To
Where To Buy Laser Cutting Materials?
Laser Engraving QR Codes
What Is DPI In Laser Engraving
How Much Is A Laser Engraving Machine