HOW TO PREPARE AN IMAGE FOR LASER ENGRAVING
So, when I finally bought a laser engraver, I had Visions of perfectly created photo engravings in my head. Turns out, Just slapping an image on an SD card and trying to laser engrave it was not how it's done. Let's just say my artistic dreams quickly became a hilarious descent into laser troubles.
In this article, I will be going over everything I learned about preparing your images for laser engraving. I will be giving all the tips you need to get a perfect engraving on different types of materials.
Steps needed to prepare images
Below I will be going over the steps I had to learn to take to make amazing engravings.
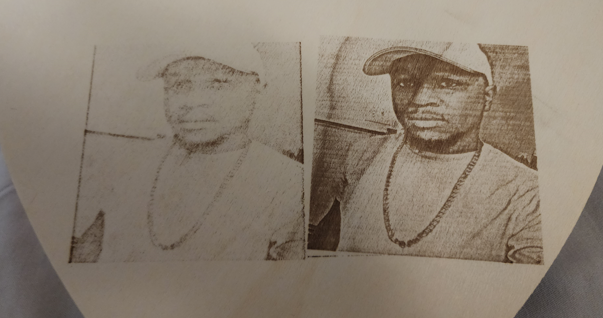
1. Start with a High Quality Image
This step cannot be overlooked. This is where you have to choose an image that has both high contrast and value. Contrast and value are two things that artist use to determine how good an image is. You can view value as the way our eyes differentiate different details in an image. You can also view contrast as the difference you see in the color and brightness of an image.
Choosing the highest image quality is very important and should never be overlooked.
2. Remove The Background
You will want your laser engraver to focus on the image itself rather than going to different areas and engraving things that are not necessary to get good results. Think of it this way, would you rather an image of yourself with a dumpster in the background or remove the background and simply have an image with you as the focal point? I think I know which one you will choose.
You can sometimes leave the background as is if it is not too busy. What I mean is that if your image is one of you with a white wall in the background then you could easily leave the background as-is.
3. Make it Black & White
The next step is to change your image to black and white. Most laser engravers can only engrave in black and white especially when dealing with certain types of materials like wood or anodized aluminum.
4. Boost the Contrast
Choosing the right amount of contrast will be dependent on how much you want the image the pop.
5. Editing Details (For Photos)
This is where you want to use different types of software like photoshop, gimp, or imag-r to edit certain aspects of your image for the type of material you will be engraving. Depending on the material, you might want to edit things like, gamma, brightness, contrast, denoise, sharpen, among many others.
6. Size it Up (or Down)
I am sure you already know what you will be engraving on. The size of your material is important as you will need to resize your image in your chosen software. You don't want your image to be too small or too large before you move it over to your laser engraving software. You want it to be the perfect size so you don't have to resize it in the engraving software.
7. Save it In The Right Format
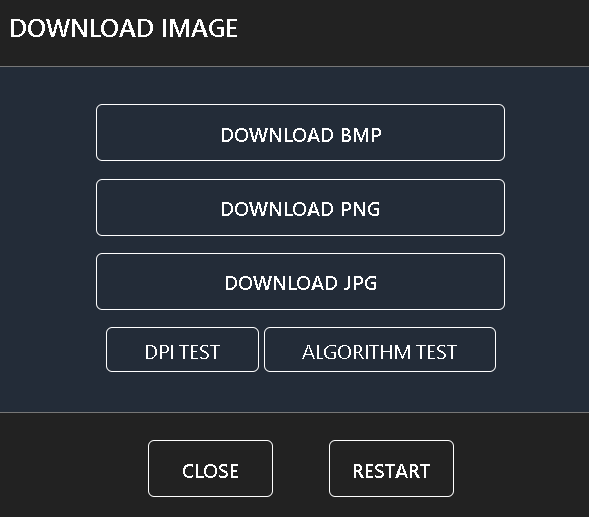
Saving your image in the right format can literally be the reason your image comes out properly or not. The most popular file formats for laser engraving images are BMP, JPG, and PNG. These are the three options given on apps such as Imag-r.com. Choosing one of these file formats to start out with is an awesome idea.
8. Test & Refine
This section is where you will want to test different settings and tricks to find the best ones that work. I had to make many different tests just to get the perfect settings for laser engraving photos.
9. Success
Now that you have found the best settings and tricks to create those amazing laser engravings. You can share some of your creations with me on my email.
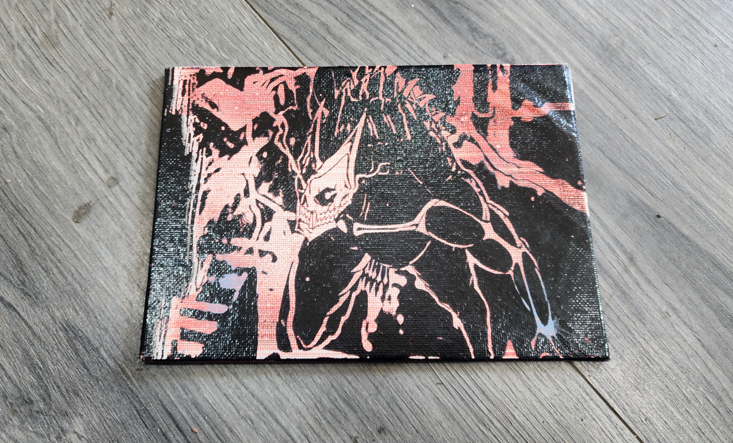
Preparing Images For Engraving On Canvas
The first thing we need to do is to paint the canvas with a bottom layer of paint in the color you choose. This color will be shown after the laser engraver engraves in those specific areas.
Laser engraving on painted canvas has become one of my favorite things to do with my 20 watt laser. I have engraved countless canvases as gifts for family and friends and have come to know the almost perfect method of accomplishing near perfect results.
The below image is the outcome of my Longer Ray 5 20 Watt Laser engraver completing the job.
Related Articles
-
How to Laser Engrave Leather | Step-By-Step Guide
Can You Laser Engrave Leather?
How to Laser Engrave White Tiles Painted Black?
What Is The Best Low Cost Laser Engraver? My Opinion
How to Laser Engrave Acrylic with a Diode Laser: A Step-by-Step Guide
My Hands-On Review of the Monport 6-Watt Diode Laser Engraver
Laser Etching Glass
Laser Engraving A Photo | Full Guide
How Much Does Laser Engraving Cost
Is Laser Engraving Hard to Learn?
Why is laser engraving so expensive?
WHAT IS A LASER CUTTING MACHINE?
Top 7 Laser Engraving Business Ideas
10 Essential Safety Precautions for Home Laser Engraving Projects
Laser Engraving Cutting Boards | How To
Where To Buy Laser Cutting Materials?
Laser Engraving QR Codes
What Is DPI In Laser Engraving
How Much Is A Laser Engraving Machine