How to Laser Engrave Acrylic with a Diode Laser: A Step-by-Step Guide
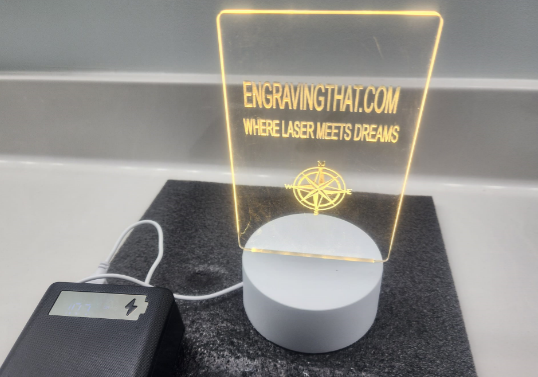
Laser Engraving Acrylic with a Diode Laser
Engraving acrylic with a diode laser has become one of my favorite things to do with my laser engravers. This however is not the easiest thing to do with a diode laser as the laser beam that is emitted from a diode really just passes through clear acrylic. However, I’ve found that by using a few simple tricks, like coating the surface with black tempera paint, we can turn our diode lasers into a powerful engraving tool for acrylic projects. Below I will walk you through the method I use and share some handy tips along the way.
Why Use Tempera Black Paint on Acrylic?
Diode lasers struggle to directly engrave on clear or transparent acrylic, as the laser beam passes right through without affecting the surface in any way. However, by coating the surface with black tempera paint, we create a solid, opaque layer that absorbs the laser’s heat which in turn allows the engraver to etch our designs onto the acrylic's Surface.
Let's Go!
Please take all necessary safety precautions. Wear your laser goggles when running your laser please.
What You’ll Need
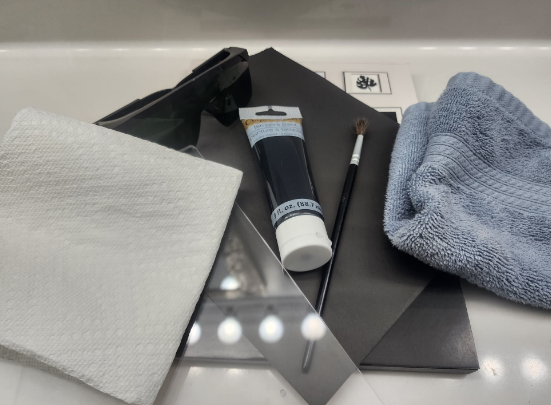
Before we start, here’s the list of items that I have used to achieve this awesome engraving.
- Acrylic sheet (preferably 1/8-inch thick or less for diode lasers)
- Black tempera paint (I get these for $1.33 at the local dollar store)
- Heat gun
- Laser engraver (For this example I used my 6 watt Monport Diode Laser)
- Black cardstock ( I got these for less than $5 at Walmart)
- Paper towel or damp rag (I mainly use paper towel)
- Masking tape ( Optional If you want to paint the perfect square)
Step-by-Step Guide to Engraving Acrylic with a Diode Laser
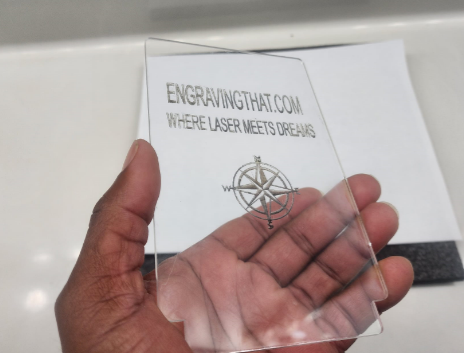
Step 1: Prepare the Acrylic and Workspace
Clean the Acrylic: Before applying the tempera paint, make sure your acrylic sheet is free from dust and any type of fingerprints.
Set Up the Workspace: Place two black cardstock sheets on your engraving workspace. This will prevent any laser reflections from interfering with your engraving. You can tape down the cardstock to prevent it from shifting during the process.
Step 2: Apply the Black Tempera Paint
Coat the Acrylic: Using a small brush, apply a thin, even layer of black tempera paint across the surface of the acrylic where you plan to engrave. I use paint brushes that I buy from the dollar store and just leave them in water to keep them clean. Remember, tempera paint washes away easily with water.
Ensure the layer is not too thick if you will be using lower power. For this specific engraving, I did two light coats as I was going to run the laser at 100% power. I need to do more tests as the laser actually burned all the way through two black card stocks.
Dry the Paint: Use the heat gun you have to speed up the drying process. Hold the gun a few inches from the acrylic, moving it back and forth to prevent overheating. This should only take a minute or two. I held my heat gun a little too close and got a little warp in the acrylic, luckily it straightened out when it cooled.
Inspect the Paint Layer: Make sure there are no wet spots or blank spots before moving on. A dry, even layer will yield the best engraving results.
Step 3: Set Up the Laser Engraver
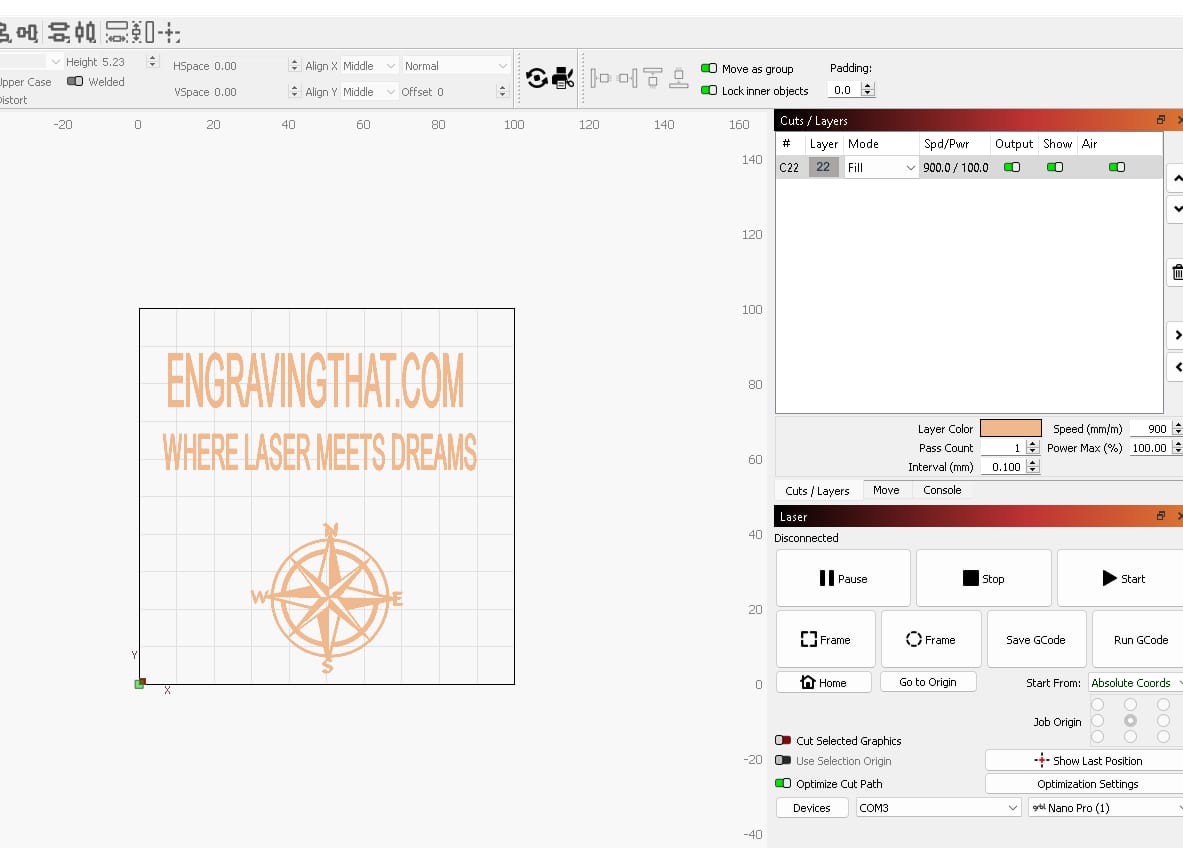
Different lasers may require different settings. For a diode laser, start with a moderate power setting and a slower speed to get a deep, clean engraving. For the Monport 6-watt diode laser, I used a power setting around 100% and a speed of 900 mm/min. I have a 20 watt Longer Ray 5 and will be testing the settings out soon.
Secure the Acrylic: Place the acrylic sheet on the black cardstock, painted side down. You may want to use masking tape to hold it in place, as even minor shifts can throw off your engraving. I engraved mine without securing it as the Monport 6 watt I am using allows you to engrave without having the vent and screen protection on.
Step 4: Create Your Engraving File
This is the time for you to create your engraving file. You can laser engrave just about anything on Acrylic like any other material. Acrylic just needs a bit more prep work when using a diode laser.
My preferred software for controlling my laser engravers is Lightburn. This software has a free trial version and also these options below:
-
LightBurn Software - LightBurn Core License Key Regular Price: $99.00 USD
-
LightBurn Software - Lightburn Pro License Key Regular Price: $199.00 USD
-
Lightburn Software - Upgrade Lightburn Core to Lightburn Pro Regular Price: $100.00 USD
-
Lightburn Bridge Kit
Regular Price: $120.00 USD
I am currently using the Lightburn Core version.
Here is the screenshot of the file I used for this project.
Step 5: Start the Engraving Process
Once everything is set up, you’re ready to start engraving! Fire up the laser and watch as your design takes shape on the painted surface.
Tips for Fine-Tuning Your Settings
Test on a Scrap Piece First: If you’re new to acrylic engraving, start with a small test piece to dial in your settings. Acrylic can vary in thickness and type, so a quick test will ensure optimal results. Lightburn offers the option to run a test file. The settings on Lightburn is located at Laser Tools --> Material Test.
Multiple Passes If Necessary: For intricate designs or deeper engraving, try multiple passes at lower power rather than one high-power pass. This method helps avoid any melting or warping of the acrylic.
Step 6: Clean Off the Paint
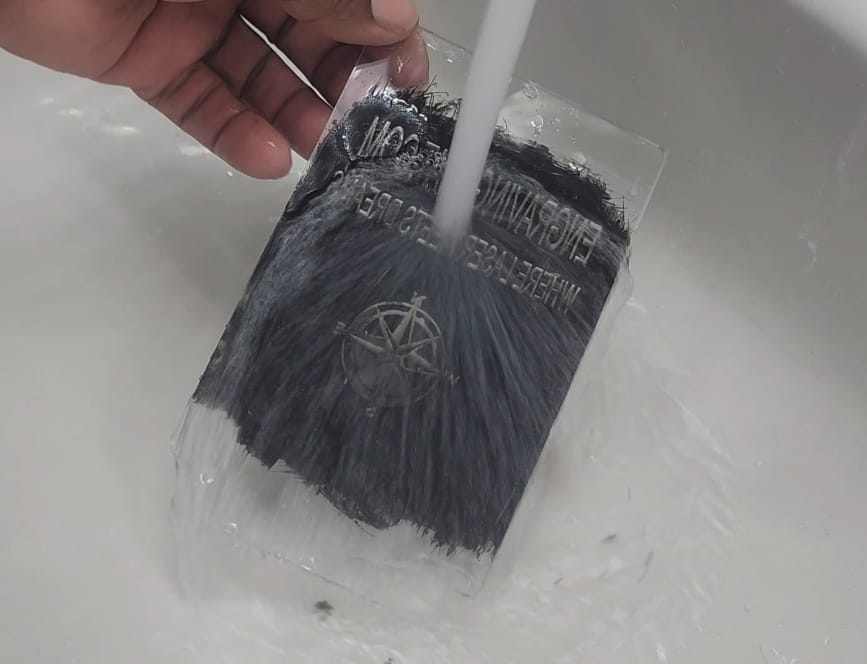
After engraving, let the acrylic cool for a minute. Then, you can use a damp rag or paper towel to gently wipe off the black tempera paint. I place mine under running water for easy cleanup.
The engraving should remain etched into the acrylic while the paint layer wipes off easily. The first time I used tempera paint I was surprised at how easily you can wash it off or wipe it off.
Dry the Acrylic: Use a dry paper towel to ensure there’s no residue left on the acrylic, and be amazed at your work!
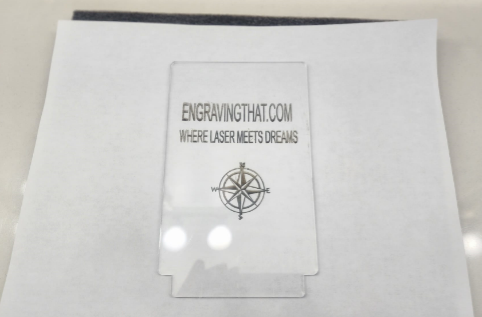
This is my finished etch.
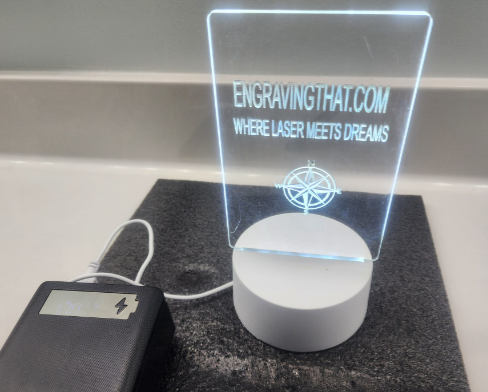
And here it is with a different color activated.
Troubleshooting Tips
Here are some common issues that may come up and how to address them:
Paint Not Drying Evenly: Use a lighter layer of paint and dry it with the heat gun for an even coat.
Engraving Looks Faint: Increase the power slightly, or consider making two passes over the same area for a deeper effect.
Residue After Cleaning: If the paint leaves any residue, use a bit of rubbing alcohol on the paper towel to clear it completely.
Quick Checklist for Engraving Acrylic
- For a quick reference, here’s a checklist to follow for each project:
- Clean acrylic and place on black cardstock.
- Apply a thin, even layer of black tempera paint.
- Dry the paint thoroughly with a heat gun.
- Secure the acrylic in place and start the engraving with adjusted settings.
- Clean off the paint layer and check for any residue.
You Have Reached The End
Laser engraving on acrylic with a diode laser might seem impossible at first, but with the right tools, it’s actually simple and satisfying. The use of tempera paint as a coating not only makes this process possible but also opens up a world of designs and finishes on a material like acrylic that might otherwise seem out of reach for diode laser users.
I love how simple it is to do after I have done it once. The only part that I really do not like is having to wait on the paint to dry if I don't have my heat gun handy.
Related Articles
-
How to Laser Engrave Leather | Step-By-Step Guide
Can You Laser Engrave Leather?
How to Laser Engrave White Tiles Painted Black?
What Is The Best Low Cost Laser Engraver? My Opinion
How to Laser Engrave Acrylic with a Diode Laser: A Step-by-Step Guide
My Hands-On Review of the Monport 6-Watt Diode Laser Engraver
Laser Etching Glass
Laser Engraving A Photo | Full Guide
How Much Does Laser Engraving Cost
Is Laser Engraving Hard to Learn?
Why is laser engraving so expensive?
WHAT IS A LASER CUTTING MACHINE?
Top 7 Laser Engraving Business Ideas
10 Essential Safety Precautions for Home Laser Engraving Projects
Laser Engraving Cutting Boards | How To
Where To Buy Laser Cutting Materials?
Laser Engraving QR Codes
What Is DPI In Laser Engraving
How Much Is A Laser Engraving Machine