Can Laser Engraving Be Removed?

Best Ways To Remove Engraving From Different Materials
Let me tell you how I go about removing engravings from different types of materials.
- Wood
Sanding and Refinishing
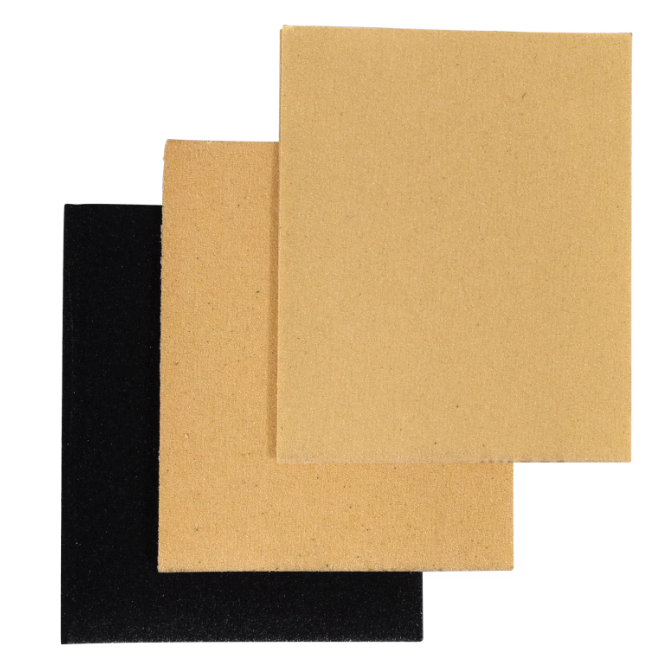
When I need to remove engravings from wood, I make sure to start by getting some fine-grit sandpaper (around 120 grit) and a sanding block. I gently sand the engraved area in the direction of the wood grain, applying light pressure to avoid creating any type of uneven surfaces. Once the engraving is mostly removed, I switch to a finer grit (320 or higher) to smooth out the area. I usually use this article on toolstop to help with deciding which grain sandpaper I should use.
After sanding the area, I then clean the surface with a cloth to remove any dust. Then, I apply a wood finish that matches the original, such as stain or varnish, to restore the wood’s appearance.
Next matter of business would be to let it dry completely before applying additional coats if needed. I am not the best at taking care of wood, but I have learned a thing or two from my grandpa.
Tip: I usually get the sandpaper and sanding block from Dollar Tree as everything in the store is so cheap.
-
Metal
Polishing and Grinding
For metal, I use a polishing compound and a buffing wheel if I have one handy. I apply the compound to the wheel and gently buff the engraved area. I used to detail cars for a living so I know the importance of taking my time when polishing. This helps to gradually remove the engraving and restore the metal’s shine instead of damaging the surface.
If you find that the engraving is deep, you might need to use a grinding tool with a fine abrasive wheel. You will then need to carefully grind the surface, being cautious not to remove too much material. After grinding, it's next time to polish the area to achieve a smooth finish. One great tool for this is the TORQX Polish & Correction Kit.
Type of metal
Depending on the type of metal, you can also sometimes remove engravings much easier. O of the easiest metals to remove engravings from are anodized metals. The reason is because these metals have a top coating that's usually in a different color than the metal itself. This way you ca simply reapply the coating over the engraving. Dog tags are one such metal as they usually have a different color o top of the metal itself.
-
Glass
Polishing Compounds (Let's be cheap)
Glass can be a little tricky but I find that one of the easiest way to accomplish this is to use toothpaste, Yes, toothpaste. You want to get the white non-gel type that will most likely have baking soda in it.
Follow the steps below:
Step-by-Step Guide to Remove Scratches from Glass
- Gather Needed Materials
I start by gathering a non-gel white toothpaste, preferably one that contains baking soda, and a soft cleaning rag.
- Apply The Toothpaste
I put a small dab of the toothpaste onto the soft cleaning rag.
- Rub the Scratched Area
Using the rag, I gently rub the scratched area in circular motions. I make sure to cover the entire scratch.
- Check Your Progress
I periodically stop to check my progress. If the scratch is still visible, I continue rubbing.
- Repeat the Process
I repeat the process of applying toothpaste and rubbing until the scratch can no longer be seen.
- Wipe Off All Excess Toothpaste
Once the scratch is gone, I use a clean part of the rag to wipe off any extra toothpaste from the glass.
- Inspect the Glass
I inspect the glass to ensure the scratch is completely removed and the surface is clean.
- Clean the Glass
Finally, I clean the entire glass surface with a glass cleaner to remove any remaining residue and restore its shine.
If you want to follow a more detailed guide for using toothpaste, follow this guide on homedepot's website.
-
Acrylic
Sanding and Buffing
For acrylic, I start with fine-grit sandpaper (around 600 grit) and gently sand the engraved area. I use a circular motion to ensure even sanding. Once the engraving is mostly removed, I switch to a finer grit (1000 or higher) to smooth the surface.
After sanding, I usually use a plastic polishing compound and a soft cloth to buff the area. I the apply the compound and buff in circular motions until the acrylic is clear and smooth. I used to detail cars for a living so I am very good at polishing.
Tips for Achieving a Smooth Finish:
Tip 1: Use progressively finer grits of sandpaper to avoid scratches. Never use sand paper that is too coarse.
Tip: Buff the surface thoroughly to restore the acrylic’s sheen.
By following these steps i have listed, you can effectively remove laser engravings from various materials while minimizing the risk of any type of damage. If you have any specific questions or need further details, feel free to ask me on the contact page.
What are some common mistakes to avoid when removing laser engravings?
When removing laser engravings, it is important to be cautious. This is important as you want to avoid damaging the material you are working with or making the engraving more noticeable.
Here are some common mistakes you should avoid:
- Using the Wrong Tools
Mistake: Using the wrong tools for the material, such as coarse sandpaper on delicate surfaces such as business cards.
Solution: Choose tools that are suitable for the specific material you’re working with. For example, use fine-grit sandpaper for wood and polishing compounds for metals. One such polishing compound is called BRASSO 8-fl oz Liquid Metal Cleaner and Polish.
- Applying Too Much Pressure
Mistake: Applying excessive pressure while sanding or polishing the material. This is especially This is a common mistake which can cause uneven surfaces or scratches depending on the material you are working with.
Solution: Use gentle, consistent pressure on the surface you are working with and take your time to avoid damaging the material.
- Ignoring Safety Precautions
Mistake: You fail to wear protective gear like gloves or work in a well-ventilated area, especially when using certain types of chemicals.
Solution: Always wear safety goggles, gloves, and a mask. Ensure proper ventilation when using chemical removers.
Related Articles
-
How to Laser Engrave Leather | Step-By-Step Guide
Can You Laser Engrave Leather?
How to Laser Engrave White Tiles Painted Black?
What Is The Best Low Cost Laser Engraver? My Opinion
How to Laser Engrave Acrylic with a Diode Laser: A Step-by-Step Guide
My Hands-On Review of the Monport 6-Watt Diode Laser Engraver
Laser Etching Glass
Laser Engraving A Photo | Full Guide
How Much Does Laser Engraving Cost
Is Laser Engraving Hard to Learn?
Why is laser engraving so expensive?
WHAT IS A LASER CUTTING MACHINE?
Top 7 Laser Engraving Business Ideas
10 Essential Safety Precautions for Home Laser Engraving Projects
Laser Engraving Cutting Boards | How To
Where To Buy Laser Cutting Materials?
Laser Engraving QR Codes
What Is DPI In Laser Engraving
How Much Is A Laser Engraving Machine